
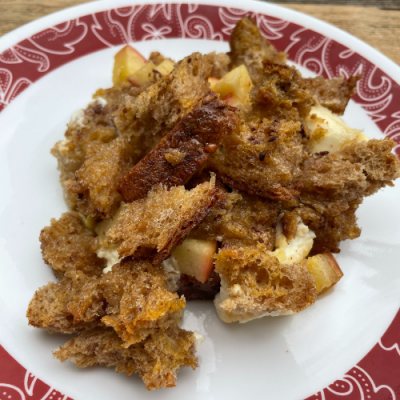
A delicious breakfast casserole with apples and cream cheese, topped with a maple syrup glaze! Sure to delight your family…
Read More
A delicious breakfast casserole with apples and cream cheese, topped with a maple syrup glaze! Sure to delight your family…
Read More

The best way to cook pheasant that isn’t dry is to coat it, fry it, add a creamy sauce, and…
Read More

My favorite part of summer is Rollkuchen – a German Mennonite fry bread – paired with watermelon for supper! I…
Read More

These chocolate chip cookies are just like the ones you buy at your favorite bakery – huge, chewy, and full…
Read More

Swedish Tea Rings are a delightful holiday confection filled with a raisin filling and topped with an almond glaze, nuts,…
Read More

A hearty stew recipe made with potatoes, carrots, parsnips, and turnips, cooked to perfection in a slow oven. My husband…
Read More

This creamy, cornbread corn casserole with sour cream, peppers, and onions makes for a delightful holiday and potluck dish! There…
Read More
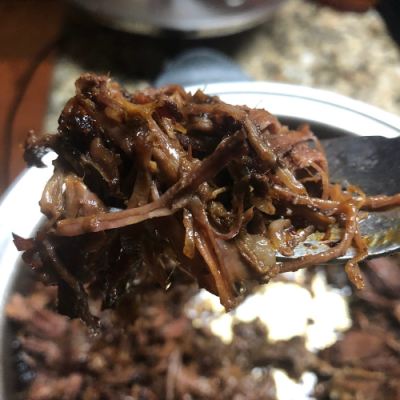
This crispy, flavorful shredded roast beef is cooked up in an electric skillet with a packet of onion soup mix…
Read More

A decadent Trim Healthy Mama Cookie Dough Dip makeover recipe! Kids get graham crackers to dip in while you eat…
Read More

These roasted sweet potatoes are an easy, healthy alternative side dish for your Thanksgiving celebrations. A Trim Healthy Mama E…
Read More